
A client recently asked me if it is possible to copy users from one local active directory domain to another local active directory domain but with as little as possible impact on the Office365/Azure AD side.
To make things more interesting he preferred not to use any kind of migration solutions like ADMT to copy over the user accounts but he simply wants to create the users from scratch on the new domain.
I did some research and quickly came to the conclusion that there are a few different routes that you can take to reach the end goal. I will post the route that came closest to the wishes from the client here.
I have tested the solution in my lab environment that consist of two Windows Server 2019 VMs hosted in Azure. Both VMs are promoted to a local Active Directory Domain Controller and the network connectivity between the separate domains and networks are established using a Site to Site VPN.
I have added some notes and findings to the original post that i have stumbled upon during the lab migration steps. The original post can be found here : Move users to another domain and retain AD Connect sync – (smikar.com)
Step 1.
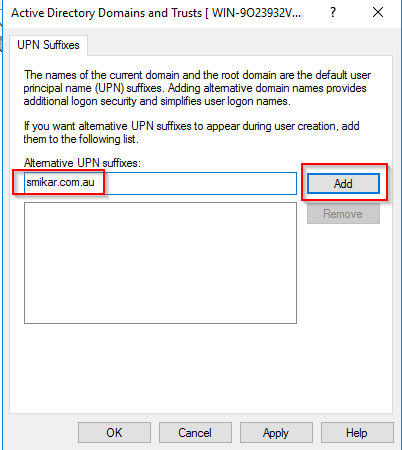
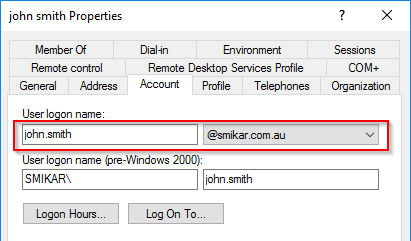
As these users need to retain the same UPN, the first thing we need to do is to add the UPN suffix to the new domain. If you have already done this, you can skip this step.
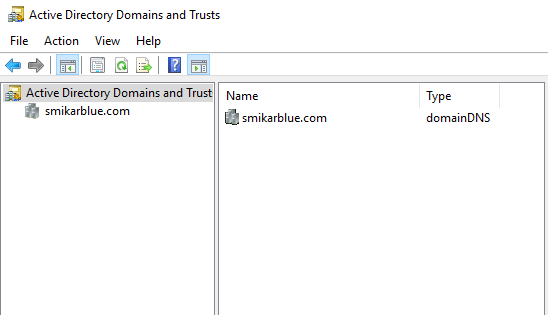
Log into the new domain and launch the Active Directory Domains and Trusts console
Step 2.
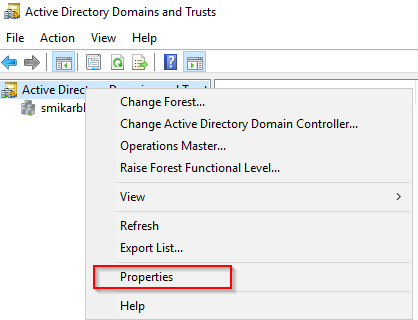
Right click on the AD Domains and trusts and select properties
Step 3.
Enter the name of the UPN you need to add.
Click Add and then OK.
Step 4.
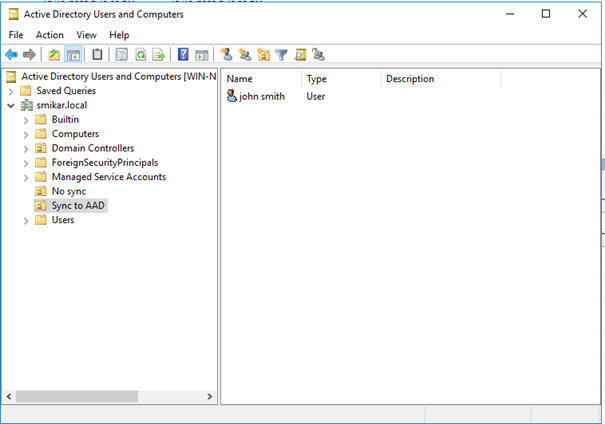
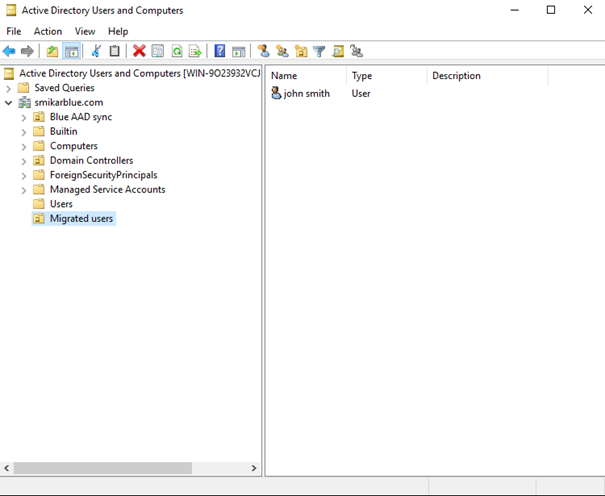
Now what we need to do, is remove the users from the sync cycle. The easiest way to do this is to move them into an OU that is not being synced. Below is our test user in AD.
Step 5.
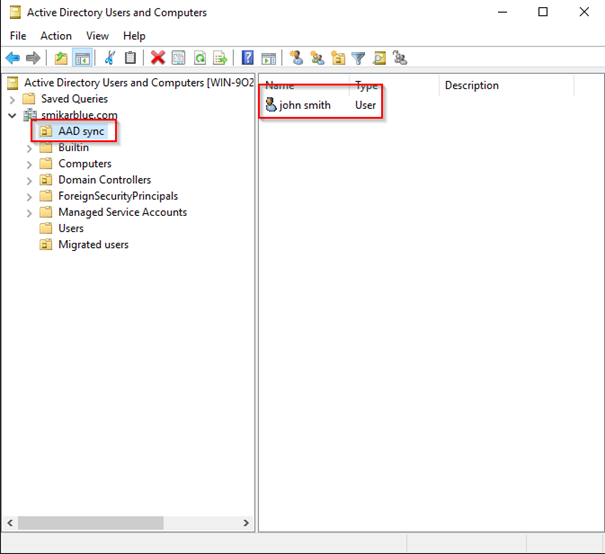
Here is the user in Azure AD
Step 6.
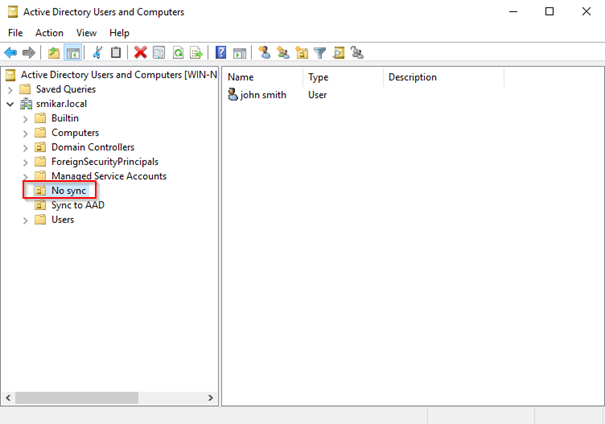
Now let’s move him into an OU that is not being synced.
Step 7.
If you are syncing the entire domain then you will need to change some settings in AD Connect so you have at least one OU that is not being synced.
If you don’t know how to do that, open up AD Connect, click on Connectors, right click on the domain and select properties. Under the Configure Directory Partitions you will find a Containers button. That is where you can select which OUs to sync.
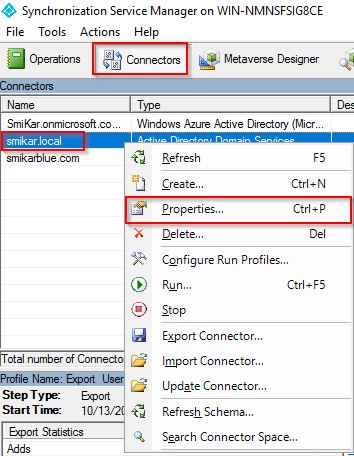
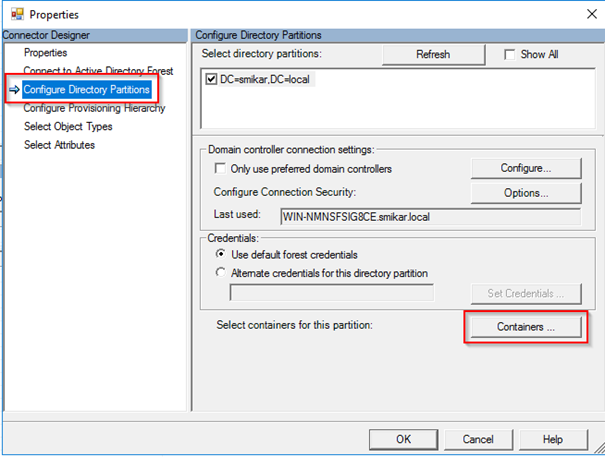
Note : You can also change the sync settings in the Azure AD Connect wizard.
Step 8.
Open a PowerShell console and enter: Start-ADSyncSyncCycle -PolicyType delta
This will initiate a delta sync to Azure AD

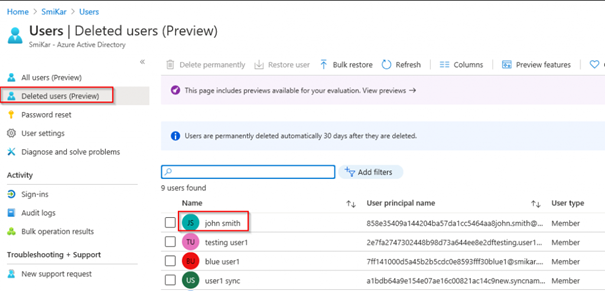
Step 9.
Log into the Azure portal and open the Active Directory panel
Select the Deleted Users option on the left hand blade
In here we should find our “deleted” user
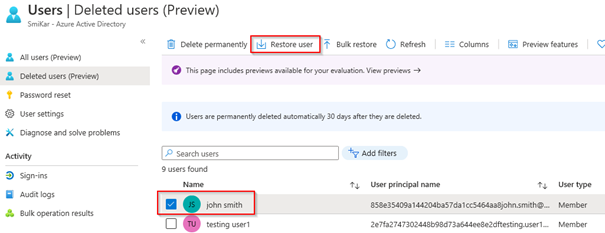
Step 10.
Select the tick box next to the user and click on Restore User
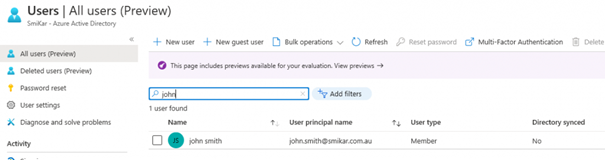
Step 11.
Once the user is restored, click on the All Users blade on the left and search for the restored user.
Step 12.
Migrate the user from the original domain to the new domain.
Note : You don’t have to use any migration tools to migrate users over to the new local domain. You can simply create the users in the new domain and make sure the UPN and primary email address settings (ProxyAddresses) are copied over from the old local domain.
Note : For more info on how and where to edit the proxyaddresses attribute check this link How Do I View Mail and Proxy Address Fields in Active Directory? – Knowledge Base (knowbe4.com)
Optional : You can use ADMT to perform this task but I won’t go into detail on this. If you need help on how to set this up and use it, here is a good guide.
Here is the user we migrated into the new domain.
Step 13.
Note : First run the following commands in powershell: Install-Module MSOnline
and : Connect-MsolService
Now we need get the OBJECTUID of the migrated user, convert it to an ImmutableID and apply that to the restored user in Azure AD.
The below command will get the OBJECTGUID and convert it to an ImmutableID for a single user but can be converted to run against multiple users (you will need the ActiveDirectory and MSonline modules installed).
$ImmID = Get-ADUser -identity john.smith -Properties ObjectGUID | select ObjectGUID | foreach {[system.convert]::ToBase64String((GUID).tobytearray())}
Now let’s set that ImmutableID to the restored user.
set-msoluser -UserPrincipalName “john.smith@smikar.com.au” -ImmutableId $ImmID
Step 14.
Move the user into an OU that is flagged to sync
Step 15.
Now let’s kick off another sync
Start-ADSyncSyncCycle -PolicyType delta
Job done
The user will now be matched with the restored user account as the ImmutableID will match the migrated user.
Note: It can take a short while before the mailbox of the user is back and kicking if the user has one attached to his account. The reason of this has to do with the fact that the account has been recovered from a soft deleted state and it can take some time before all services that are bound to the user are fully recovered.
If there are still problems opening the mailbox then remove the Exchange Online License for a few minutes. After a few minutes (when the online mailbox disappeared from the Exchange Admin Center add the Exchange Online license to the user again.


Very good blog post. I definitely appreciate this website.
Thanks!